


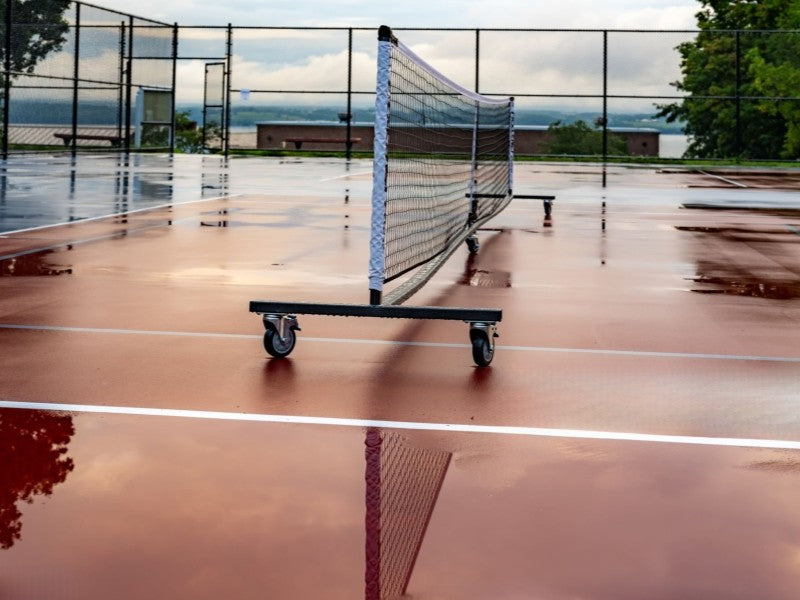
Before assembling a portable net, it is essential to understand what a properly set pickleball net should look like. This knowledge helps prevent common mistakes and ensures fair, consistent play.
Official Pickleball Net Dimensions (Regulation Overview)
According to official pickleball rules, the net must meet the following requirements:
- Net width: At least 22 feet (to span the full court width)
- Net height at the sidelines: 36 inches
- Net height at the center: 34 inches
The difference between the center and sideline height is intentional. The slight dip in the middle allows for consistent ball trajectory and distinguishes pickleball from tennis and badminton nets. Portable nets are designed to replicate these dimensions, but only when set up correctly.
What Comes in a Typical Portable Pickleball Net System
Most portable pickleball net systems include:
- Multiple interlocking frame poles
- Two vertical support posts
- A center support or strap
- A net with top binding or cable
- A carrying bag
Understanding each component’s purpose makes the setup process faster and reduces frustration during assembly.
Tools and Preparation: What You Need Before Setup
One of the most overlooked aspects of learning how to set up a pickleball net is preparation. Choosing the right location and preparing the surface can save time and prevent repeated adjustments later.
Choosing the Right Location
A suitable setup area should meet the following criteria:
- Flat and level surface
- Minimum court width of 20 feet, with extra space on both sides
- Clear overhead area free from obstructions
While portable nets are forgiving, uneven ground can cause leaning posts or inconsistent net height.
Surface-Specific Considerations
- Indoor courts or gyms: Smooth surfaces are ideal but may cause the base to slide if bumped
- Concrete or asphalt: Stable but may include slight slopes that affect net alignment
- Grass or turf: Requires extra attention to balance and tension
Selecting the flattest possible area reduces setup time and improves net stability.
Safety and Setup Readiness Checklist
Before assembly, take a moment to:
- Lay out all components and inspect for damage
- Identify locking buttons or snap connectors
- Be aware of pinch points when assembling frame sections
This brief check helps avoid mid-setup interruptions and ensures a smoother process.

Step-by-Step: How to Set Up a Portable Pickleball Net in Under 10 Minutes
This section provides a clear, repeatable process that works for most portable pickleball net systems. While designs vary slightly, the principles remain consistent.
Step 1: Lay Out All Components (Approximately 1 Minute)
Begin by placing all frame pieces, posts, and the net on the ground in a straight line. Group similar parts together and identify:
- Base frame bars
- Vertical support posts
- Center support or strap
- Net top cable or binding
Laying everything out before assembly prevents confusion and reduces unnecessary disassembly later.
Step 2: Assemble the Base Frame (2–3 Minutes)
Connect the base bars according to their length and shape. Most portable nets use snap buttons or push-pin connectors.
Key points to check:
- Ensure each connection locks securely
- Keep the frame straight and symmetrical
- Confirm the base width matches the full court width
A stable base is essential for maintaining correct net height and preventing tipping during play.
Step 3: Attach the Vertical Posts (1–2 Minutes)
Insert the vertical support posts into the designated base sockets.
Make sure that:
- Both posts stand upright and evenly
- Posts are fully inserted and locked
- No visible leaning occurs
If the posts are misaligned at this stage, the net will never tension correctly.
Step 4: Attach the Net to the Frame (2 Minutes)
Drape the net evenly across the frame and secure it using the top cable, straps, or hooks provided.
Focus on:
- Centering the net so both sides hang equally
- Attaching the top edge before side tension points
- Avoiding twists in the net fabric
This step largely determines how evenly tension is distributed across the net.
Step 5: Adjust Net Height and Tension (1–2 Minutes)
Once the net is attached, fine-tune the height and tension.
- Adjust the top cable so the sideline height reaches 36 inches
- Use the center strap to bring the middle down to 34 inches
- Apply even tension so the net feels firm but not overstretched
Proper tension ensures consistent ball response and prevents sagging during rallies.
Step 6: Final Stability Check (Under 1 Minute)
Perform a quick stability test:
- Gently push the frame from both sides
- Check for sliding or wobbling
- Reconfirm net height visually
At this point, the net should be fully playable and regulation-compliant.
Common Pickleball Net Setup Mistakes and How to Avoid Them
Even experienced players make setup mistakes. Recognizing them early saves time.
Net Sagging in the Middle
- Cause: Center strap not properly adjusted
- Solution: Tighten the strap after side tension is set
Net Too High or Too Low
- Cause: Adjusting only one side
- Solution: Balance both vertical posts before final tensioning
Frame Shifting During Play
- Cause: Uneven surface or loose connections
- Solution: Re-seat connectors and reposition on flatter ground
How to Set Up a Pickleball Net on Different Surfaces
Setting Up on Grass or Turf
- Press base bars firmly into the ground
- Expect minor adjustments as the surface compresses
Setting Up on Concrete or Asphalt
- Watch for slopes or drainage angles
- Center the frame to reduce uneven tension
Setting Up Indoors
- Ensure the base does not slide on smooth floors
- Double-check alignment with court lines
Each surface may require slight adjustments, but the setup sequence remains the same.

Quick Tests to Confirm Proper Pickleball Net Setup
You can verify setup accuracy without special tools.
Visual Alignment Test
Stand at the center of the court and confirm symmetrical sag.
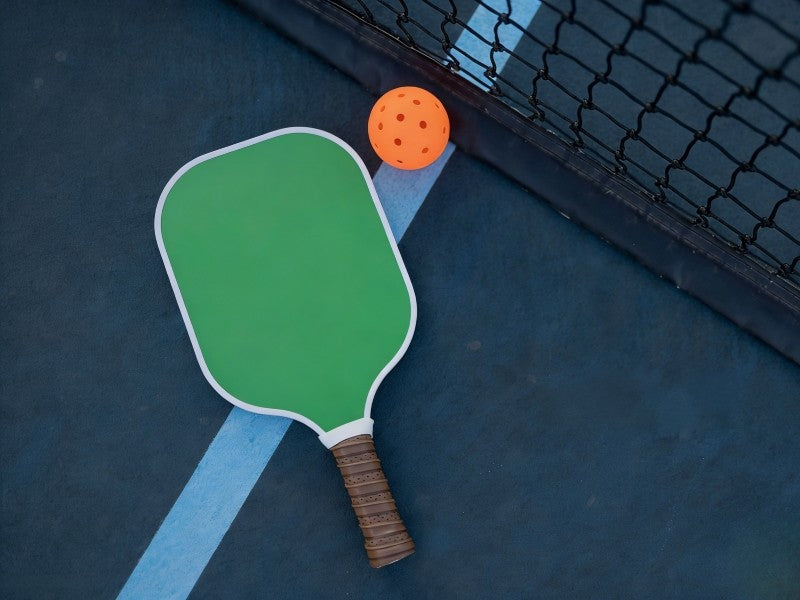
Paddle Height Reference
Most pickleball paddles are close to 16 inches long. Two stacked paddles approximate net height checks at the sidelines.
Ball Roll Test
Gently roll a ball into the net. A properly tensioned net absorbs impact without excessive rebound.
Frequently Asked Questions: How to Set Up a Pickleball Net
1. Why does my pickleball net look straight but still play “wrong”?
A net can appear visually straight while still being incorrectly set up. The most common issues are:
Incorrect center height (not adjusted to 34 inches)
Uneven tension between the two side posts
Slight frame misalignment on uneven surfaces
These factors affect ball trajectory, especially during dinks and drop shots, even if the net looks acceptable at a glance.
2. How can I accurately measure pickleball net height without a measuring tape?
If a tape measure is unavailable, you can use common reference methods:
- A standard pickleball paddle is approximately 16 inches long
- Two stacked paddles approximate 32 inches, close to center height
- Adding a small visual margin accounts for the remaining difference
While not perfectly precise, this method is sufficient for recreational and training play.
3. Why does the center of my pickleball net keep sagging during games?
Persistent sagging usually results from one or more of the following:
- Center strap not properly tightened
- Net fabric stretching after initial use
- Over-tightening side tension before adjusting the center
The correct sequence is to tension the sides first, then fine-tune the center strap.
4. Can portable pickleball nets meet official tournament regulations?
Most modern portable pickleball nets are designed to meet regulation dimensions. However, compliance depends on proper setup, not just equipment design. Tournament-level play typically requires:
- Accurate height adjustment
- Firm, stable tension
- Minimal frame movement during impact
Improper setup can cause even regulation nets to fail compliance checks.
5. Why does my portable net move or slide during play?
Movement is usually caused by:
- Smooth indoor flooring
- Uneven outdoor surfaces
- Loose frame connections
Ensuring all connectors are fully locked and repositioning the net on a flatter area typically resolves the issue. On indoor courts, slight repositioning may be required between games.
6. Is it possible for one person to set up a pickleball net alone?
Yes. Most portable pickleball nets are designed for single-person setup. However, solo setup requires extra attention to:
- Frame symmetry
- Even net centering
- Height adjustment on both sides
Two-person setup is faster but not required.
7. Does incorrect net setup increase injury risk?
Indirectly, yes. An unstable or sagging net can:
- Shift unexpectedly during play
- Create tripping hazards around the base
- Cause players to misjudge ball height near the net
Proper setup improves both safety and gameplay consistency.
8. Can I leave a portable pickleball net set up outdoors long-term?
Portable nets are intended for temporary use. Long-term outdoor exposure may result in:
- Net fabric stretching or UV degradation
- Corrosion of metal components
- Reduced tension reliability
Disassembling and storing the net after play significantly extends its lifespan.
9. Why does the net height seem correct at setup but change during play?
This typically happens because:
- The frame settles into soft ground
- Tension equalizes after initial impact
- Components were not fully locked
A quick recheck after the first few rallies often resolves the issue.
10. What is the most common mistake beginners make when setting up a pickleball net?
The most frequent mistake is prioritizing speed over accuracy, especially skipping proper height adjustment. A correctly set net saves time in the long run by preventing disputes, re-adjustments, and inconsistent play.

Leave a comment
This site is protected by hCaptcha and the hCaptcha Privacy Policy and Terms of Service apply.